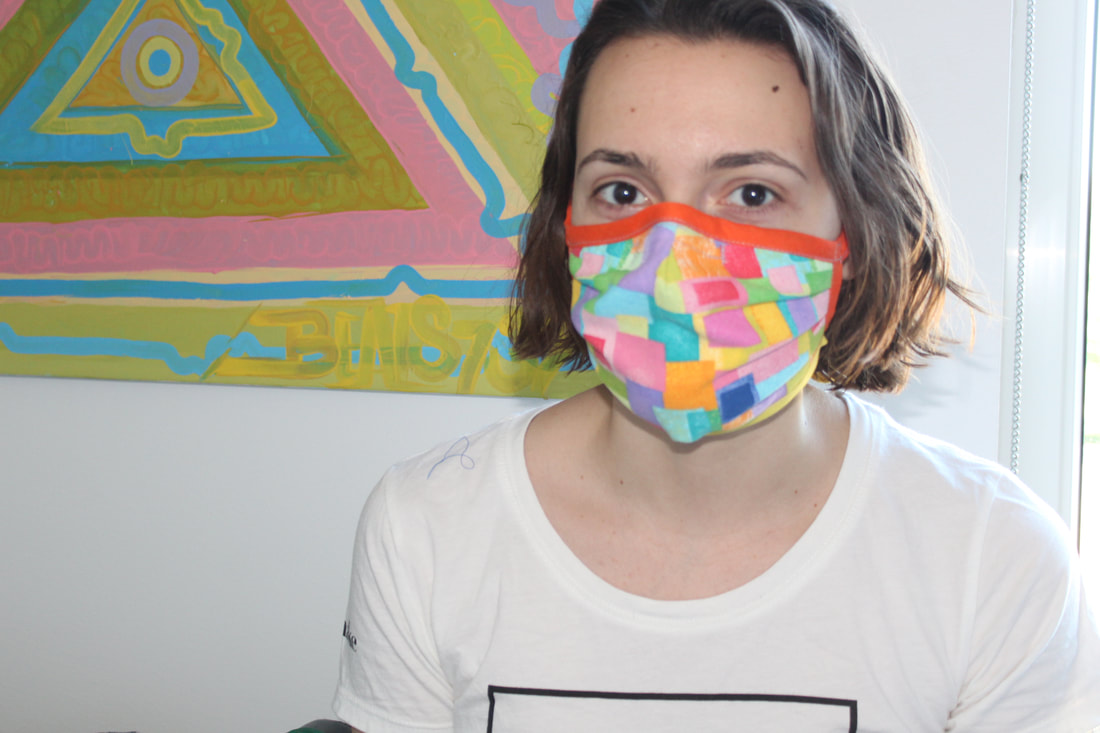
 I've read a bunch of tutorials, done some testing, and combined the best aspects of the face masks I've seen, and am here to break it all down for you. I've sent these to friends and family who are first responders, who are wearing them over their N95s, but also have made a few for my neighbors and people who I know who haven't had a chance to buy or make their own masks. This article is great to read and keep in mind while making this mask. I personally don't have any coffee filters or anything besides fabric to add to my mask, but if you have a filter, you could layer it in between during Step 3. I also filmed a video tutorial for DoneGood, if you want to watch any of the steps! New to sewing? I think you should be able to keep up! Feel free to use more pins, rely more heavily on the hand wheel to sew slowly, or whatever you need. 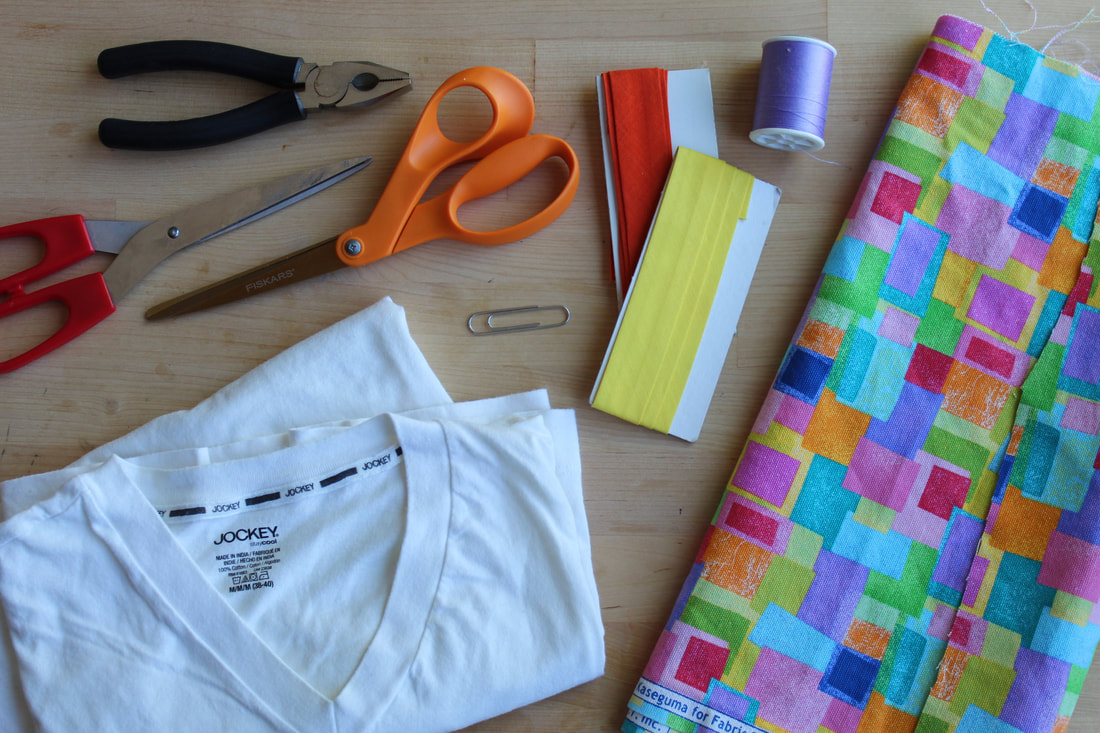 Supplies:
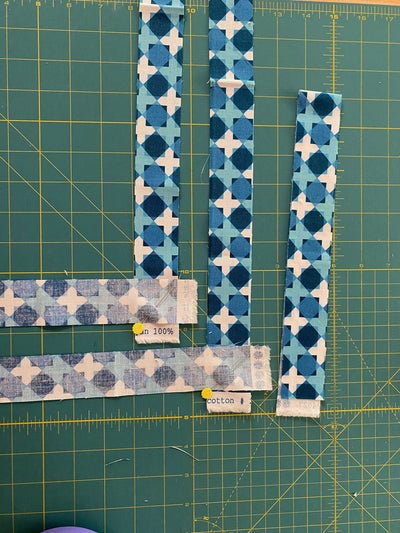
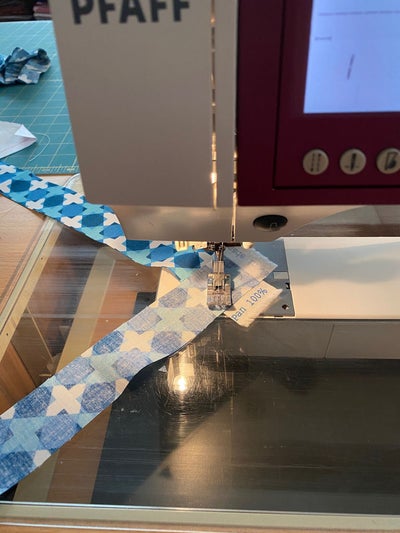
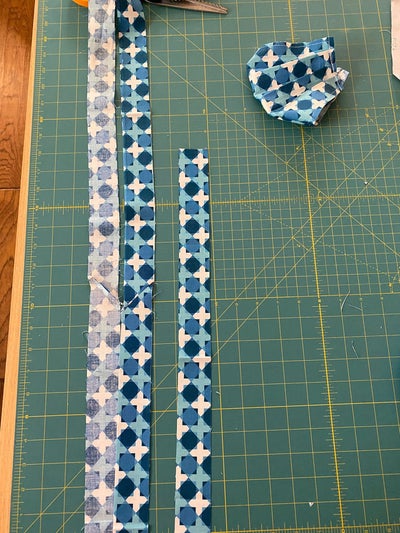
Step 1: Print & cut the pattern outThe base of my mask comes from Jessica Nandino. Her mask tutorial can be found here. Please print her pattern. 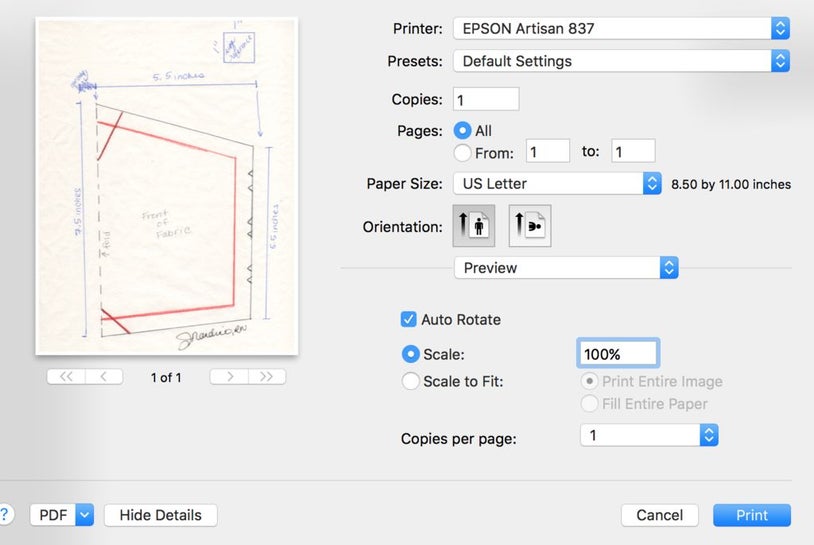 Make sure your paper size is accurate and the sale is at 100%. Cut out pattern. Cut along straight black lines and dotted black line. Step 2: Cut Your FabricThe t-shirt material will become your lining fabric, the fabric that sits touching your face. When folding your fabric, try and keep in mind the grain of the fabric. Line up your fabric aligned with the grain. For the t-shirt, you may be able to see slight lines…try and position your pattern so that the lines you see would intersect with the notches. Step 3: Attach Your LayersOnce both layers are cut out, give them a quick iron, and then stack them. Keep the front of the fabric facing away from you, place the t-shirt layer on top of that one. Sew the two together, following a 1/2 inch seam allowance. The t-shirt may stretch when you're doing this, no worries. You can trim any access after or just ignore it until later. 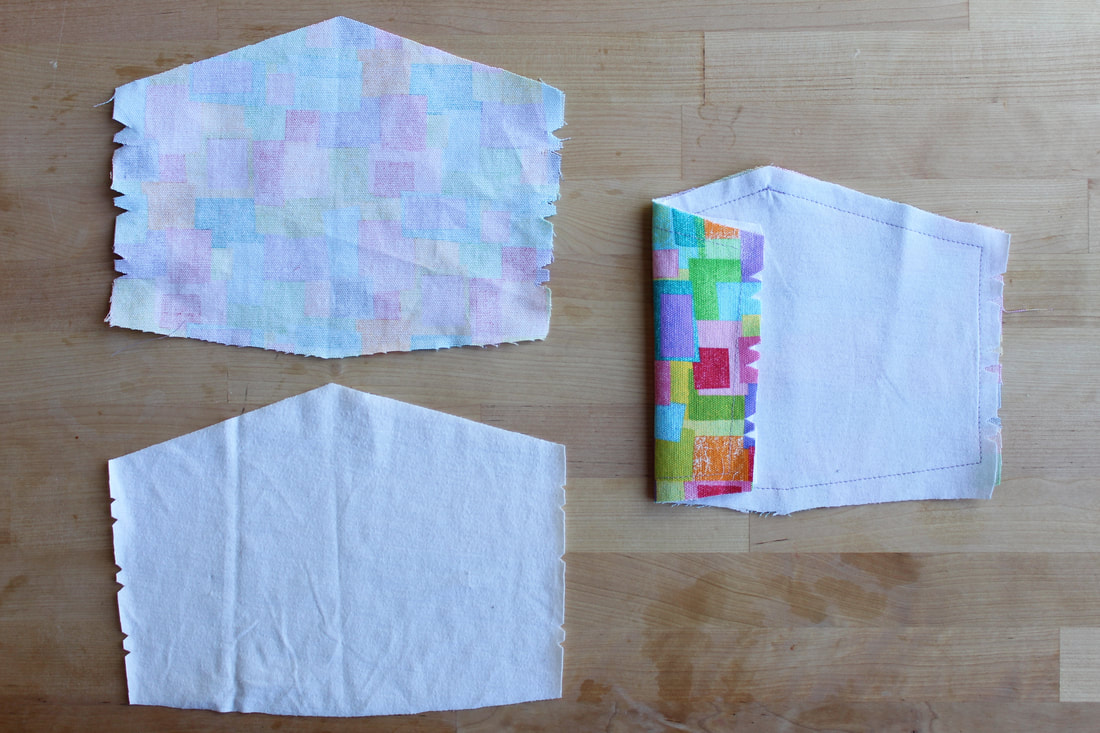 Step 4: PleatThe pleating can be a bit confusing at first. Stick with it, try to think logically, and take your time getting the hang of it. Follow the notches on your non-stretchy fabric, AKA not the t-shirt. If they line up, you're better than me. Step 5: Add darts, trim sidesStep 6: Add fitted nose piece** OPTIONALOn lighter fabric, this may be a bit too much. The wire over the nose is extremely helpful for fit, and if you wear glasses if may be a bit helpful as well. Step 7: Adding the binding/tiesHere's where you can choose your own adventure. The first time I made these masks, I followed Jessica's tutorial and made my ties from my front fabric. If you're doing that, follow instruction A. I happened to have some soft woven ribbon from a duvet cover from West Elm that was ~3/4 inch wide, I also made one of these masks using that and instruction B will dive into that more. For this tutorial and mask, I used bias tape. Follow instruction C for bias tape. A. Binding & Ties from Fabric:
B. Binding & Ties from Ribbon:
YOU DID IT! You made a fabric face mask!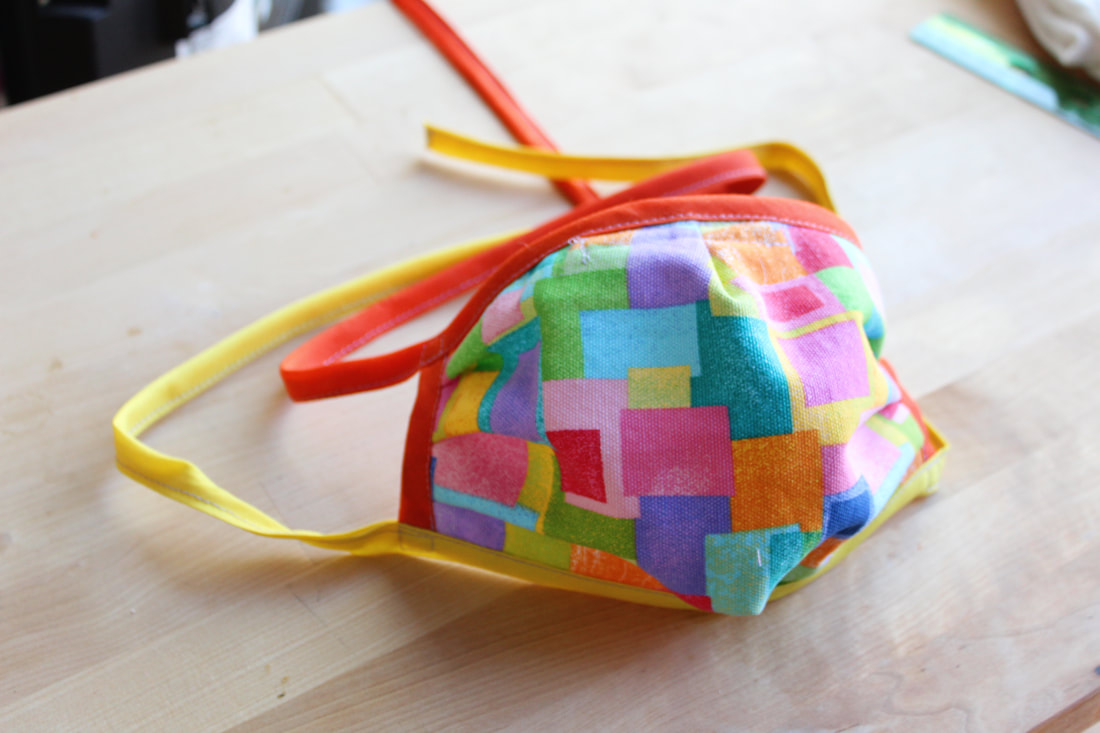 |
Hi, I'm Sam.low-waste living, recipes, DIYS, style, sustainability, and travel. Categories
All
Archives
August 2022
|
 RSS Feed