SAMANTHA KIRSCH
  • Home
  • Blog
    • Recipes
  • What I Do
  • Contact

BLOG

Dairy-Free Gluten-Free Chocolate Layer Cake Recipe

7/2/2018

Comments

 
Picture
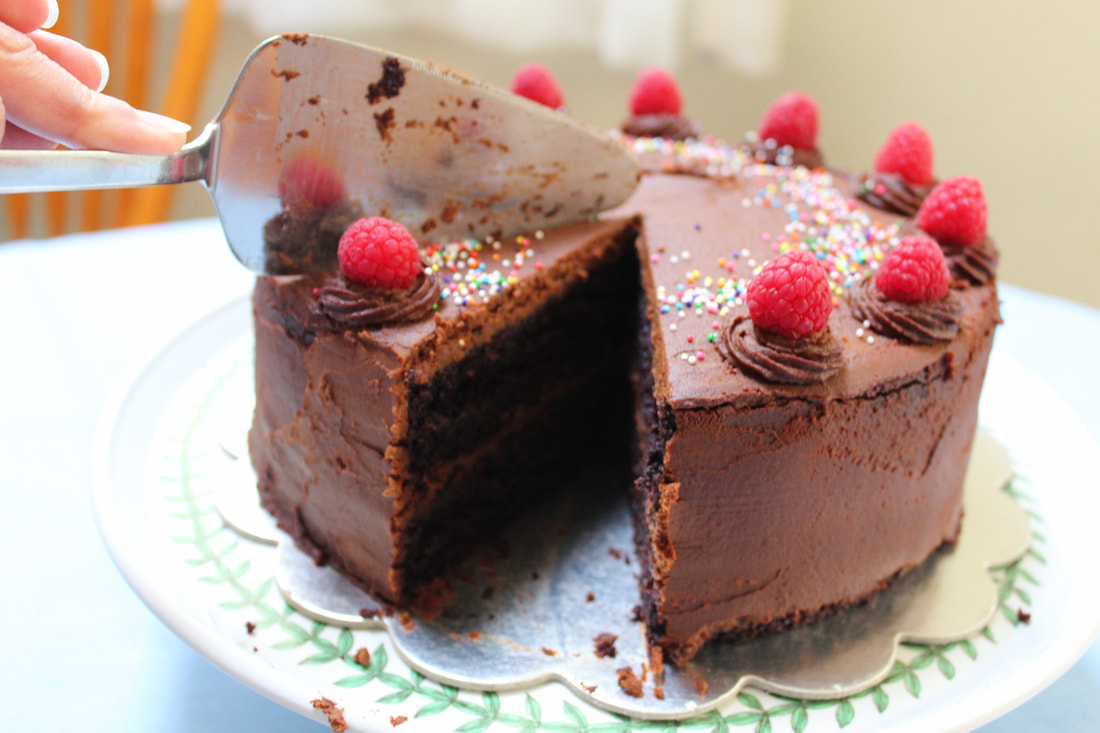
My mom went gluten-free following a gluten sensitivity diagnosis a few years back and since then finding the perfect way to celebrate her birthday has been a repeated case of trial and error.  We've made gluten-free ice cream cakes, pies, cupcakes– you name it!  They've all been good and served their purpose, but this cake is definitely the winner.

A decadent chocolate layer cake with a special secret ingredient in the frosting (pumpkin puree!) makes this cake super yummy and somewhat healthy.
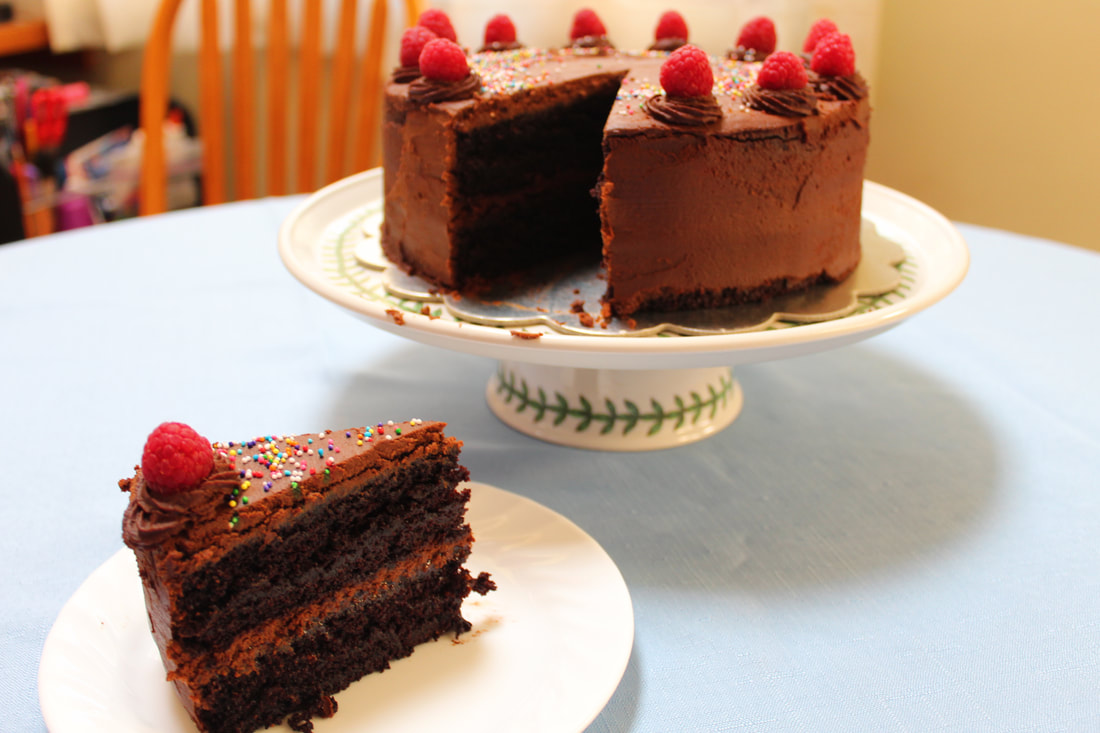
Picture

Ingredients

This recipe makes one 2-layer (9 inch) cake or 24 hearty cupcakes.
​
CAKE (adapted from What The Fork):
  • 1 3/4 cups all-purpose gluten free flour (we used Bob's Red Mill Gluten Free 1-to-1 Baking Flour)
  • 3/4 teaspoon xanthan gum (omit if your blend contains it, ours did)
  • 2 cups granulated sugar
  • 3/4 cups cocoa powder
  • 2 teaspoons baking soda
  • 1 teaspoon baking powder
  • 1 teaspoon fine sea salt
  • 1 cup unsweetened coconut milk + 1 tablespoon white vinegar
  • 1/2 cup light olive oil
  • 2 large eggs, room temperature
  • 2 teaspoons pure vanilla extract
  • 1 cup hot coffee
FROSTING (adapted from Petite Allergy Treats):
  • 1 can (15 oz) pumpkin pureé
  • 1 3/4 cup dairy free semi sweet chocolate chips
  • 2 tsp vanilla
  • pinch of salt
  • sugar to taste (we didn't use any and it was still delicious!)

BAKING DIRECTIONS

To make the Cake:
  1. Preheat oven to 350 degrees and spray 2 9-inch cake pans with non-stick spray. Line the bottom of the pans with parchment paper and spray that parchment paper with non-stick spray.
  2. In the bowl of a stand mixer, sift together the flour, xanthan gum, sugar, cocoa powder, baking soda, baking powder and salt. Use the paddle attachment or a spatula to mix the dry ingredients on low speed.
  3. Prepare your "buttermilk" by adding the vinegar to the coconut milk in a separate bowl. Let sit for a few minutes.  Then add and whisk together the eggs, oil and vanilla.
  4. With the mixer running on low speed, slowly pour the wet ingredients into the dry ingredients. Mix until completely combined.
  5. Scrape down the sides and bottom of the bowl and pour in the hot coffee slowly while the mixer is on low. Continue to mix on low until incorporated.
  6. Pour the batter (it will be very thin and pretty liquidy) evenly between the two pans or cupcake tins. Bake the cakes at 350 degrees for 35-40 or so minutes, until a toothpick comes out mostly clean but definitely all dry.  Cupcakes will take about 30 minutes to bake.  Cool the cakes on a wire rack (in the pan) for 20 minutes. Carefully remove the cakes from the pans and cool completely on a wire rack.
  7. Chill the cakes in preparation for frosting.  We stick ours in the freezer.
To make the frosting:
  1. Heat pumpkin pureé and chocolate chips in a microwave safe bowl until hot.
  2. Combine vanilla and pinch of salt with the hot pureé mixture. Throughly mix until incorporated.
  3. Taste frosting and add sugar if needed. Allow to cool.
To assemble the layer cake:
  1. At this point we removed our cakes from the freezer and applied a layer of raspberry jam to one side of one of the cakes.  Feel free to place any sort of filling if you so desire. 
  2. Then, using a piping bag with the tip cut off, we piped a generous amount of frosting on top of the raspberry jam layer.
  3. We flipped the second cake on top of that frosting layer so that the top of the cake would be the flatter side of the cake.  Apply a crumb coat of frosting (a thin layer over everything to smooth things out and create a base for more intricate frosting.
  4. Add more frosting as desired and pipe as ambitiously as you want to.  We just added little piped details around the top and placed fresh raspberries on them.
  5. Store unused frosting in refrigerator for 1 week. Gently reheat to decorate cake.

I personally prefer this cake the day after, I feel like the icing is a bit less squashy tasting.  Either way though, it's delicious!  Let me know if you try it out in the comment section below!
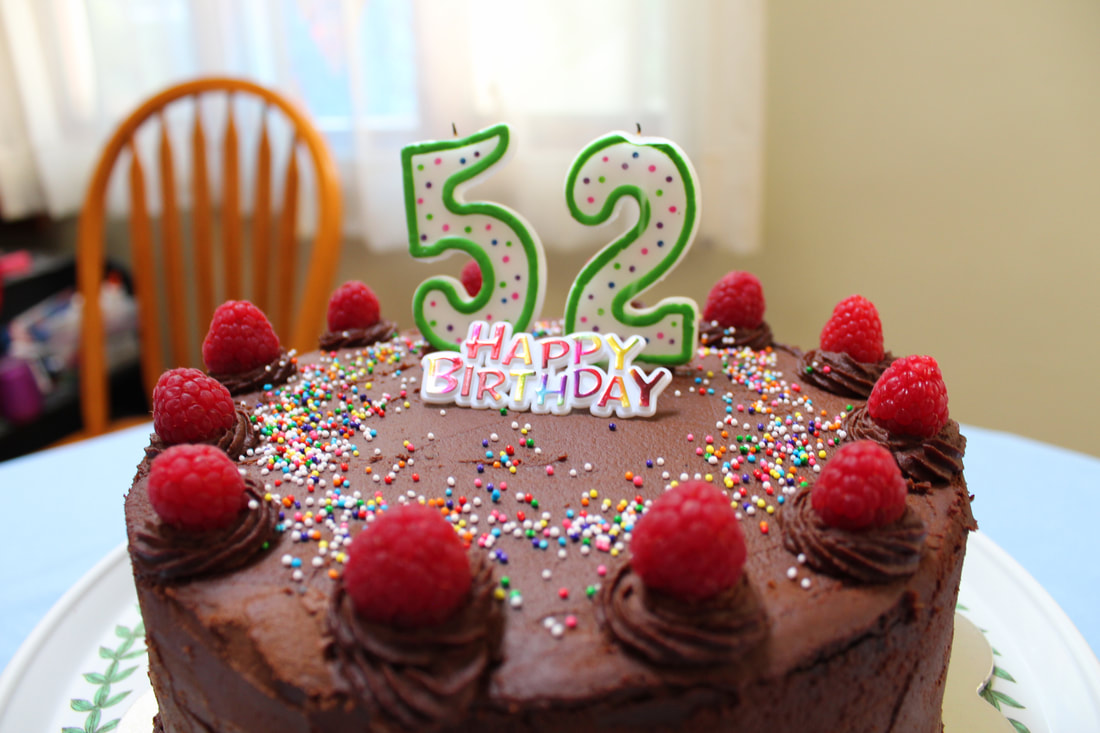
Picture
Comments

    Hi, I'm Sam.

    low-waste living, recipes, DIYS, style, sustainability, and travel.

    Categories

    All
    Bay Area
    Cornell
    DIY
    Fall
    Family
    Fashion
    Gifts
    Holiday
    Ithaca
    Memoir
    My Social Canvas
    Net Impact
    Recipes
    Seattle
    Shopping
    Social Responsibility
    Summer
    Transfer Option
    Travel

    Archives

    August 2022
    June 2022
    November 2020
    July 2020
    May 2020
    April 2020
    January 2020
    December 2019
    October 2019
    September 2019
    June 2019
    April 2019
    March 2019
    February 2019
    December 2018
    November 2018
    October 2018
    September 2018
    July 2018
    January 2018
    December 2017
    November 2017
    October 2017
    September 2017
    August 2017
    July 2017
    June 2017
    May 2017
    April 2017
    March 2017
    February 2017
    January 2017
    December 2016
    November 2016
    October 2016
    September 2016
    August 2016
    July 2016
    June 2016
    April 2016
    March 2016
    February 2016
    January 2016
    December 2015
    November 2015
    October 2015
    September 2015
    August 2015
    July 2015

    RSS Feed

Web Hosting by iPage
  • Home
  • Blog
    • Recipes
  • What I Do
  • Contact