SAMANTHA KIRSCH
  • Home
  • Blog
    • Recipes
  • What I Do
  • Contact

BLOG

Vegan Gluten Free Ice Cream Cake

7/19/2017

Comments

 
Picture
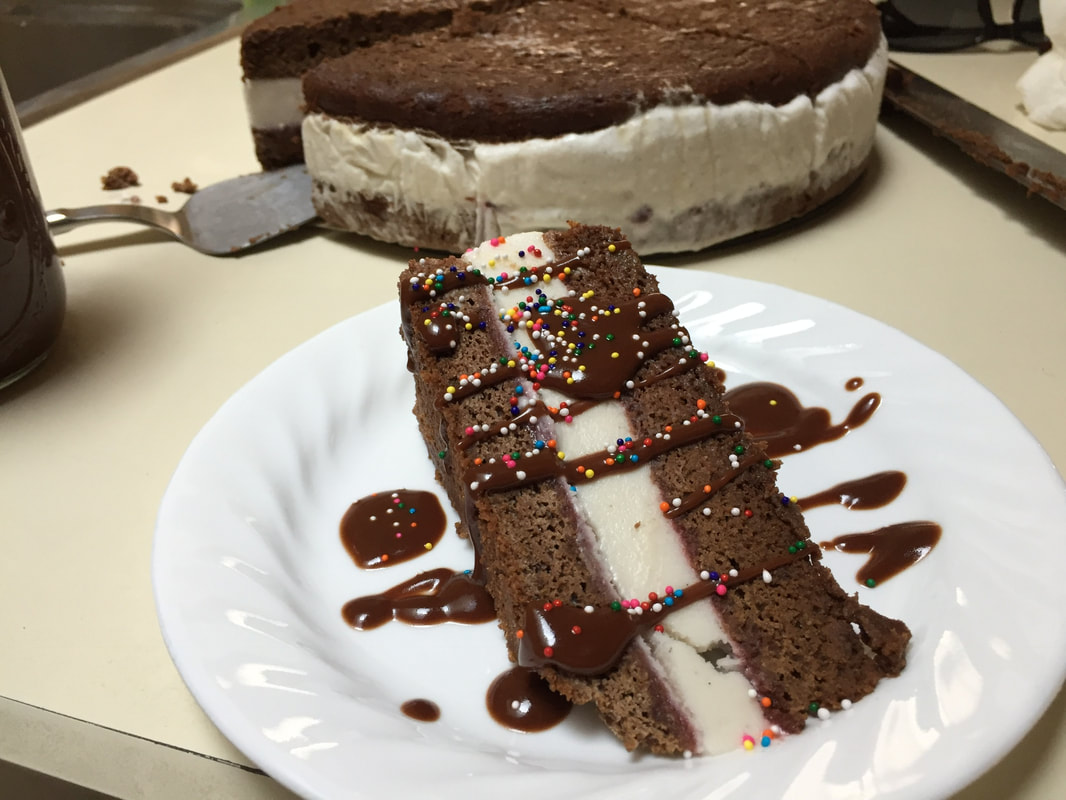
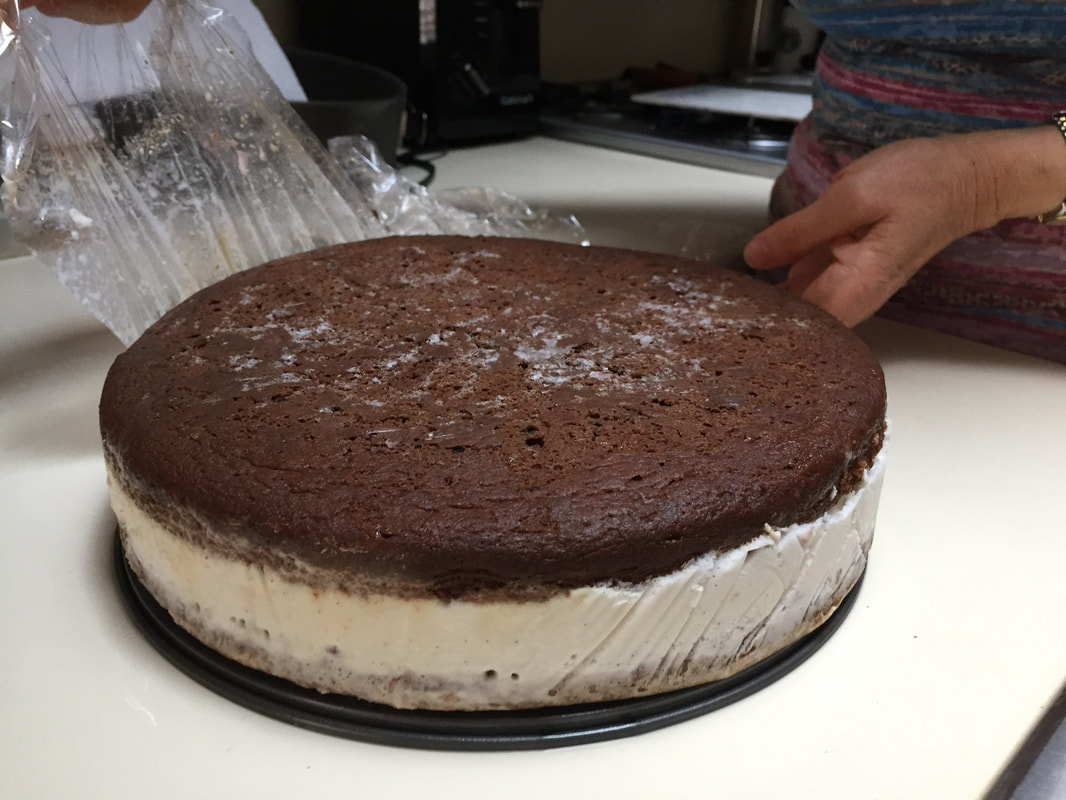
My mom is gluten and dairy free, so for her birthday she was begging for an ice cream cake she could have.  We didn't quite master the proper defrosting technique for this cake yet, but it was a pretty good nonetheless.  We also made a delicious chocolate sauce for the top that is just as good on the cake as it is spooned out of a mason jar cold from the fridge :)

Gluten Free & Vegan Chocolate cake

Adapted from Simple Vegan Blog's Vegan Gluten Free Chocolate Cake
Ingredients
  • 1 cup teff flour (140 g)
  • 1/2 cup rice flour (100 g)
  • 1/2 cup potato starch (110 g)
  • 1/2 cup unsweetened cocoa powder (50 g)
  • 1 tsp baking powder
  • 1 tsp baking soda
  • 1 cup applesauce
  • 1 cup orange juice (250 ml)
  • 1/2 cup extra virgin olive oil (125 ml)
  • 1/4 cup maple syrup (85 g)
  • 1/2 cup coconut sugar (70 g)
Instructions
  1. Preheat the oven to 180 C or 355 F. Grease the sides of a spring form pan with oil.  Place a sheet of a parchment paper on the bottom of the cake pan.
  2. Combine the dry ingredients in a bowl (teff flour, rice flour, potato starch, cocoa powder, baking powder, and baking soda).  Mix well.
  3. Use a coffee grinder or food processor to blend the coconut sugar into a finer crystal.
  4. Combine the dry ingredients and wet ingredients, (applesauce, orange juice, oil, maple syrup, coconut sugar) and mix well.  Pour the mixture into the cake pan.
  5. Bake for 25 or 30 minutes. Let the cake cool.
  6. When completely cooled, use a cake level to cut the cake in half.
  7. Place back in pan & freeze!

Vegan Coconut Vanilla Ice Cream


Ingredients
  • 2 (13- to 15-ounce cans of full-fat coconut milk
  • 1/2 cup sweetener, we used maple syrup
  • 1/4 teaspoon salt
  • 1 tablespoon arrowroot starch
  • 1 1/2 teaspoons vanilla extract (plus a vanilla bean, if you have one laying around!)
Equipment
  • Measuring cups and spoons
  • Whisk
  • 2-quart saucepan
  • Wooden spatula
  • Glass or plastic dish, for cooling the base
  • Ice cream machine (at least 1 1/2 quart capacity)
  • Plastic wrap
  • Freezer container, like a loaf pan or pint container
  • Parchment or wax paper
Instructions→ At least 24 hours before you plan to churn the ice cream, put the ice cream machine's bowl in the freezer to freeze. It should be frozen solid before using (you should hear no liquid sloshing inside when you shake it).
  1. Shake the coconut milk: Cans of coconut milk separate into a thick, creamy layer and a thin watery layer on the shelf. Before opening them, shake the cans of coconut milk thoroughly to incorporate the layers.
  2. Set aside 1/2 cup coconut milk: Open the cans of coconut milk. Measure 1/2 cup and set this aside.
  3. Pour the coconut milk into a saucepan: Pour the remaining coconut milk into a 2-quart saucepan.
  4. Add the sweetener and salt: Add the maple syrup and salt.
  5. Warm the coconut milk: Warm the coconut milk over medium-low heat, stirring occasionally, until the sweetener has completely dissolved into the coconut milk, 1 to 2 minutes.
  6. Whisk the starch into the reserved coconut milk: Add the starch to the reserved 1/2 cup coconut milk and whisk until the starch is totally dissolved.
  7. Add the arrowroot to the coconut milk: Pour the arrowroot into the warm coconut milk while whisking gently.
  8. Heat the ice cream base until thickened: This is your ice cream base. Increase the heat to medium. Stirring occasionally, continue cooking the base until it has thickened enough to coat the back of a spoon, 6 to 8 minutes. Do not allow the base come to a boil.
  9. Stir in the vanilla: Remove the base from heat and stir in the vanilla.
  10. Chill the base: Pour the base into a shallow container. Let the base cool slightly on the counter so it's not hot when you put it in the refrigerator. Before refrigerating, press a piece of plastic wrap against the surface — this coconut milk base doesn't form a skin quite as badly as a milk-and-egg base, but it doesn't hurt! Cover the container and refrigerate for at least 4 hours or for up to 3 days.
  11. Begin churning: Your base should be completely chilled and slightly pudding-like in texture. Pour the base into your ice cream machine and begin churning.
  12. Churn until the consistency of soft-serve: Churn the ice cream until it thickens considerably and is roughly the consistency of soft-serve ice cream. Depending on your machine, this could take anywhere from 10 to 20 minutes — keep an eye on it!​

Now…Assembling the Ice Cream Cake

  1. Line your spring form pan with plastic wrap.
  2. We added a layer of raspberry jam on either side of the ice cream, so if you would like to, spread raspberry jam across the inside halves of the cake. Place one half of the frozen chocolate cake back into the pan.
  3. Using a spatula, spread the just made ice cream into the pan evenly and place the second half on top.
  4. Freeze!
  5. Defrost a bit before serving!
Picture
Picture
Picture
Comments

    Hi, I'm Sam.

    low-waste living, recipes, DIYS, style, sustainability, and travel.

    Categories

    All
    Bay Area
    Cornell
    DIY
    Fall
    Family
    Fashion
    Gifts
    Holiday
    Ithaca
    Memoir
    My Social Canvas
    Net Impact
    Recipes
    Seattle
    Shopping
    Social Responsibility
    Summer
    Transfer Option
    Travel

    Archives

    August 2022
    June 2022
    November 2020
    July 2020
    May 2020
    April 2020
    January 2020
    December 2019
    October 2019
    September 2019
    June 2019
    April 2019
    March 2019
    February 2019
    December 2018
    November 2018
    October 2018
    September 2018
    July 2018
    January 2018
    December 2017
    November 2017
    October 2017
    September 2017
    August 2017
    July 2017
    June 2017
    May 2017
    April 2017
    March 2017
    February 2017
    January 2017
    December 2016
    November 2016
    October 2016
    September 2016
    August 2016
    July 2016
    June 2016
    April 2016
    March 2016
    February 2016
    January 2016
    December 2015
    November 2015
    October 2015
    September 2015
    August 2015
    July 2015

    RSS Feed

Web Hosting by iPage
  • Home
  • Blog
    • Recipes
  • What I Do
  • Contact